Country Blocking Add-on Setup
Setting up and using the AIOWPS Country Blocking add-on is simple.
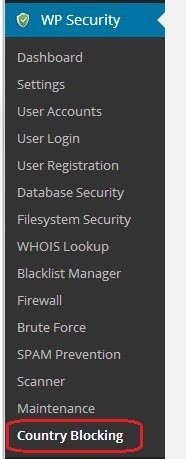
After you have installed and activated the add-on, you will see a new menu item called “Country Blocking” in the AIOWPS menu as shown below:

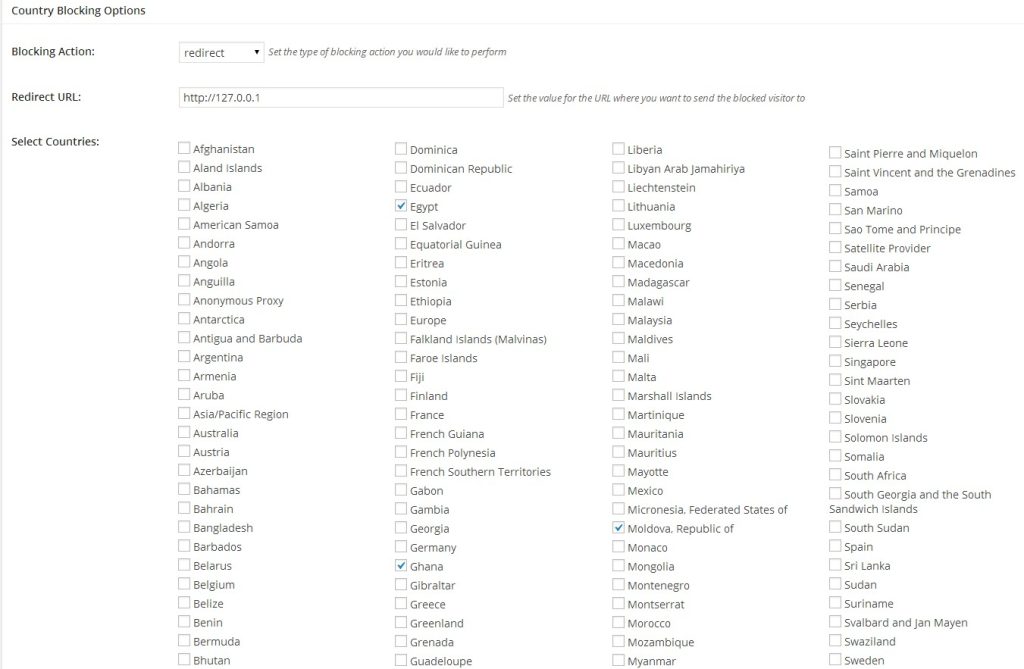
After clicking the menu you will be directed to the settings page for the add-on.

To activate and configure the country blocking functionality you just need perform the following simple steps:
- Select the Enable Country Blocking checkbox
- Enter a URL in the Redirect URL field.
This will be where all blocked visitors are redirected to when they try to access your site.
You can enter any URL you like – it can be an external URL or a page on your site explaining why they can’t access your site’s contents or you can even send them back to their localhost by entering http://127.0.0.1 - Select one or more country or region which you wish to block from your site by using the checkboxes in the Select Countries section.
You have over 250 countries and regions to choose from. - Save your settings by scrolling to the bottom of the page and clicking the Save Settings button. And that’s it!
After doing the above, you have now added yet another powerful security feature to your site.
